Discover how easy and fast it is to deploy your application with Spacer, be it manually or through our CLI.
Once you are logged in with the credentials provided, you will be redirected to the Console app. Here you will see your Space (instance) and it's details. In the current state of beta you only have one space available, it's a Space created by us for the purpose of beta. Once the MVP will be launched you will have the option of creating and customizing more than one Space on different cloud providers with different specifications.
Manual deploy through the UI
Once you are on the Console app, you can navigate to Space app by clicking on the eye icon on the far right of the grid.
- By clicking on the Add app button you can start the app deployment process
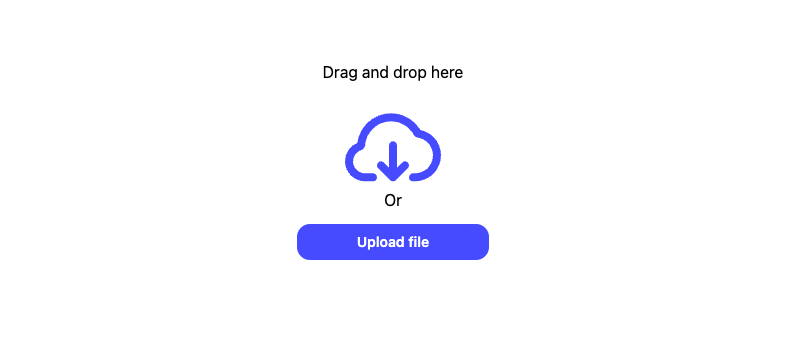
- On the upload build page you can drag and drop a build pack. Click here to download our react demo app.
- Fill out the Project details and select React as a framework preset.
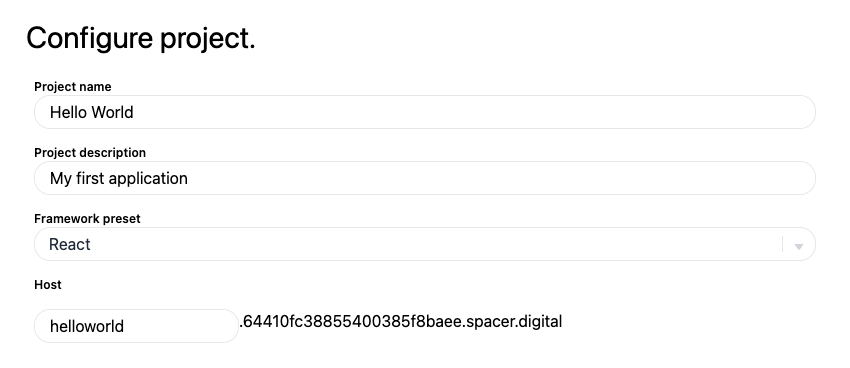
- Click on Create in order to deploy the app (it may take a second in order for the app to become Active).
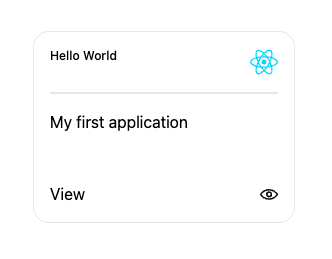
- After clicking Create, you are now redirected back to your Space. In order to access your app click on the eye icon on the app card.
Packing your own app build and deploying
Now that you've deployed a test app, you probably want to see how it works with your own applications. In order to do that you will need to pack you own app build by using the Spacer CLI.
First you need to open your terminal. If you are on a mac press command + space and type "terminal" in the search bar. If you are on windows press Ctrl + Shift + P.
Once you have the terminal opened you can add the following commands to your terminal in order, to install the CLI and pack your build:
- Install the Spacer CLI:
npm i -g spacer-cli
- Login into spacer:
spacer-cli login
- You need to select your Space:
spacer-cli select-space
- Navigate to your app folder on your device in order to create the spacer-config.json file for your app.
- Initiate your Spacer config json file within your app:
spacer-cli init
- And now you can pack your build:
spacer-cli pack
Once you have packed your build, you can now follow the steps from the manual deploy guide in order to deploy the application the same as before. You will find a buildFiles folder within your application with a .zip file inside it with the name you gave when you configured spacer-config.json.
Or you can deploy the application straight from the CLI by using:
spacer-cli deploy
We hope this guide has provided you with the information you need to start using product. If you have any further questions or need more assistance, don't hesitate to reach out to our us through our Discord channel.